
I’ve written already about my school getting started with Google Apps for Education.
For a next step, I was thinking of what are basic skills that students need if they’re to make use of what’s on offer. So I put this together to give students (and staff?) an idea of how to get started. Is there anything I’m missing in this step?
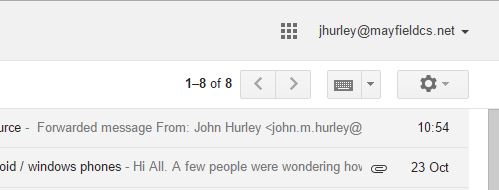
When you sign into your Google Account you will see at the top right hand side of the screen the apps menu. Click on the icon that looks like a grid.
You will then see this drop down menu:

Click on the Drive icon. If you are using Chrome then Drive will open in a new tab. Not sure about other browsers.
Once Drive is open, it’s time to learn how to create a document.

At the right hand side of the screen, you will see the shiny red ‘New’ button. Click on this.

Once you get the drop-down menu, click on the option ‘Google Docs’
Again, if you’re using Chrome, a new tab will open. This is your new document. At the right hand side of the screen, click on ‘File’ and rename the document.
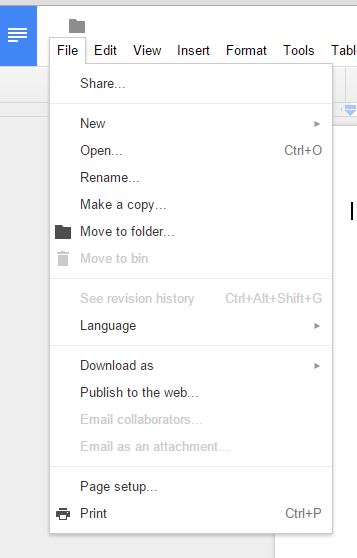
This will give you a small window where you can give the document a new name:

Once you have renamed the document, learn how to put in text, and format your work.

To create a table, simply point your mouse to the ‘Table’ heading in the toolbar and use the drop down options:

As with most computing skills, the only real way to learn this stuff is to try it out. You can see the table I chose is 6 columns across by 4 rows down. Simple to add!
Go on. Give it a try.

Pingback: Sharing Documents in Google Drive | John Hurley
Pingback: Getting Started in Google Classroom | John Hurley